
Last updated September 20, 2026
Free on-site gate assessment - hinges, posts, and your LiftMaster or Nice gate operator checked before anything is quoted
The assessment is free and the quote is the invoice.
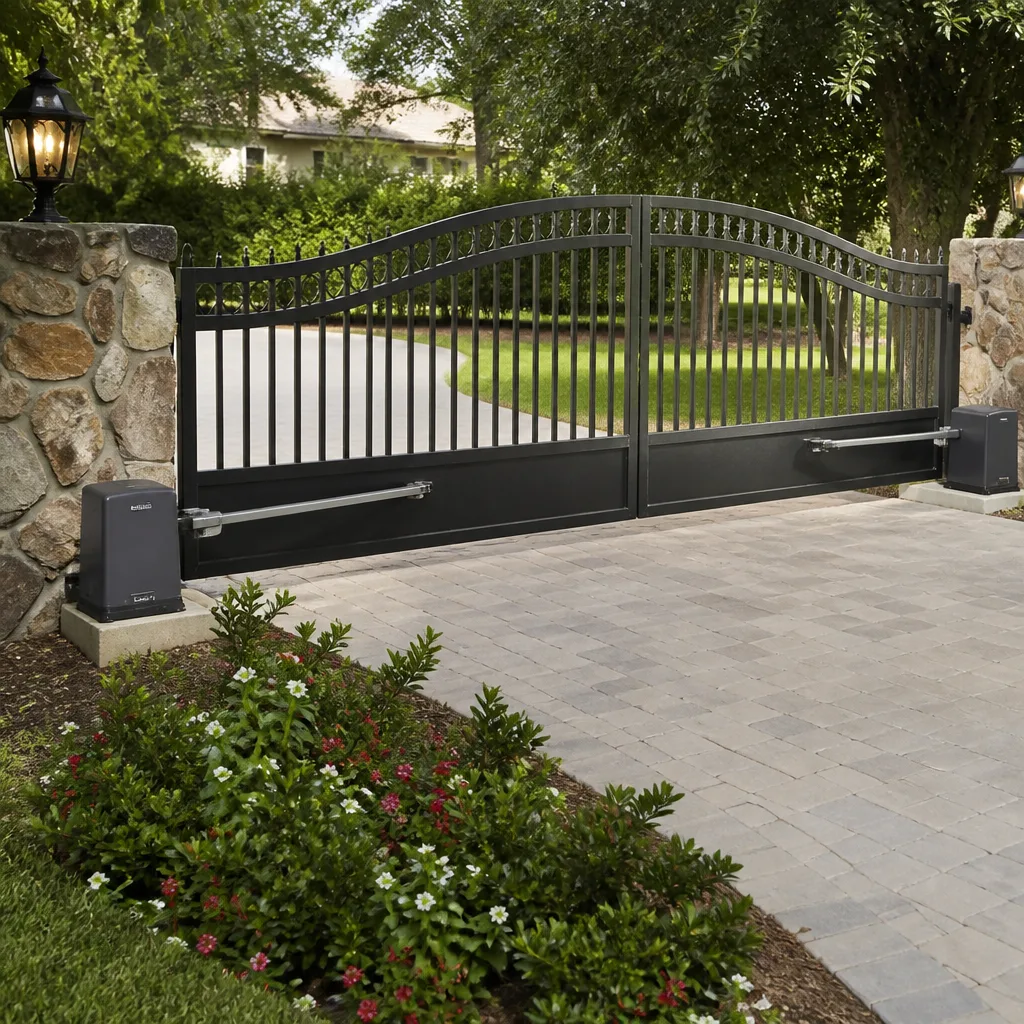
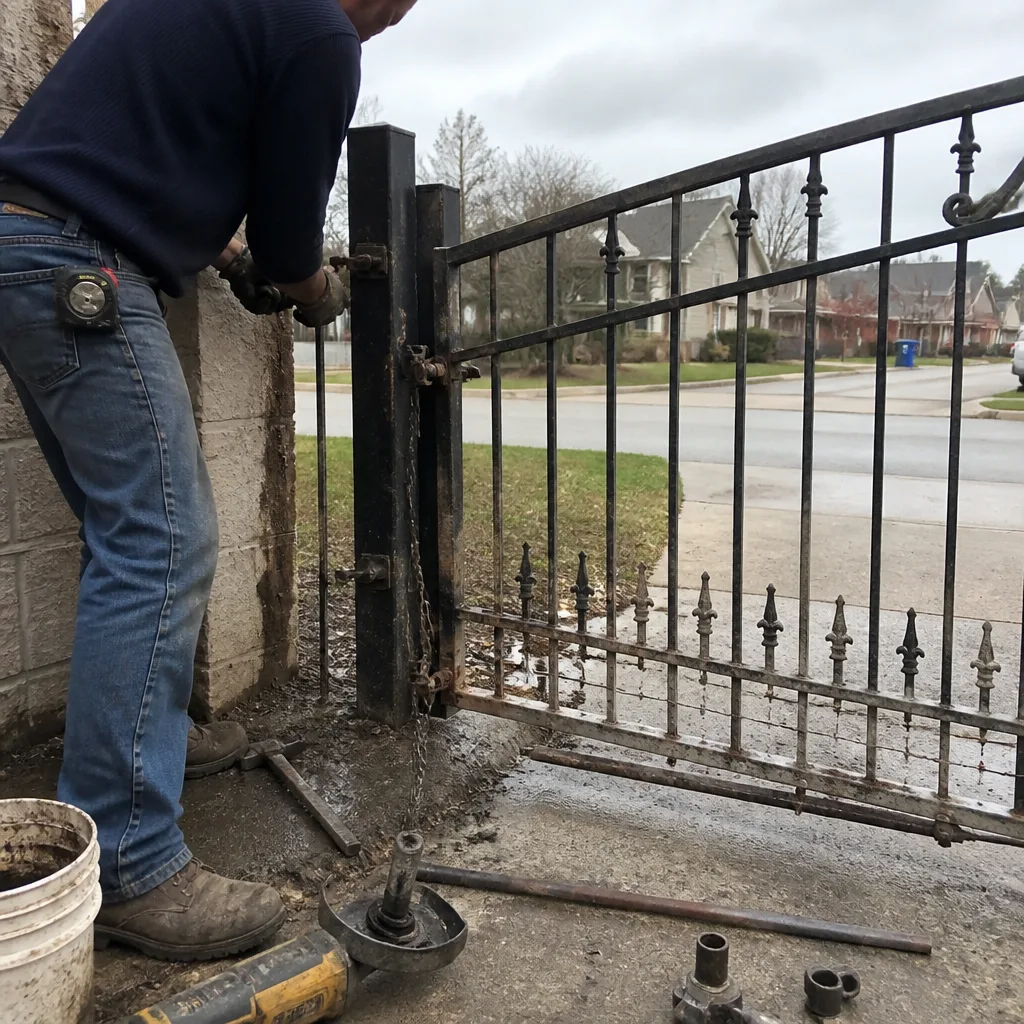 Before
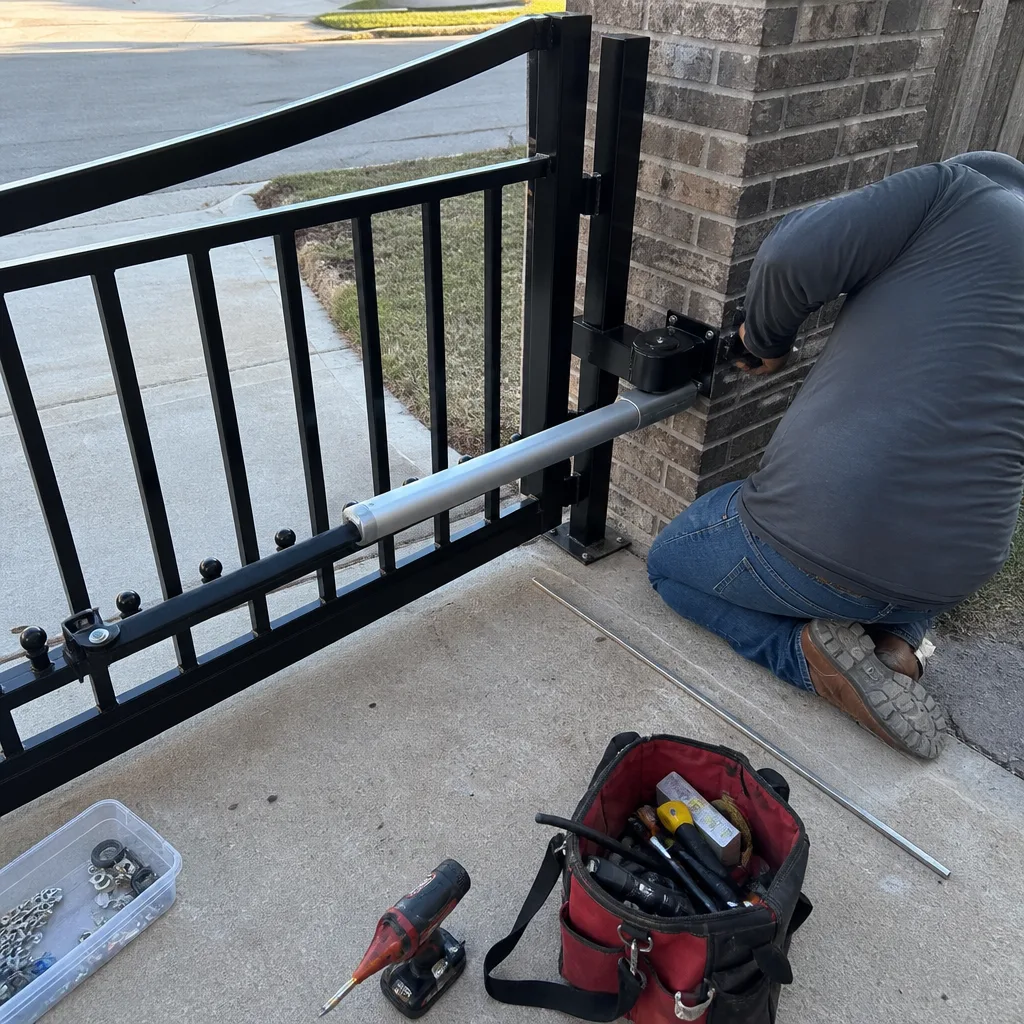 After
After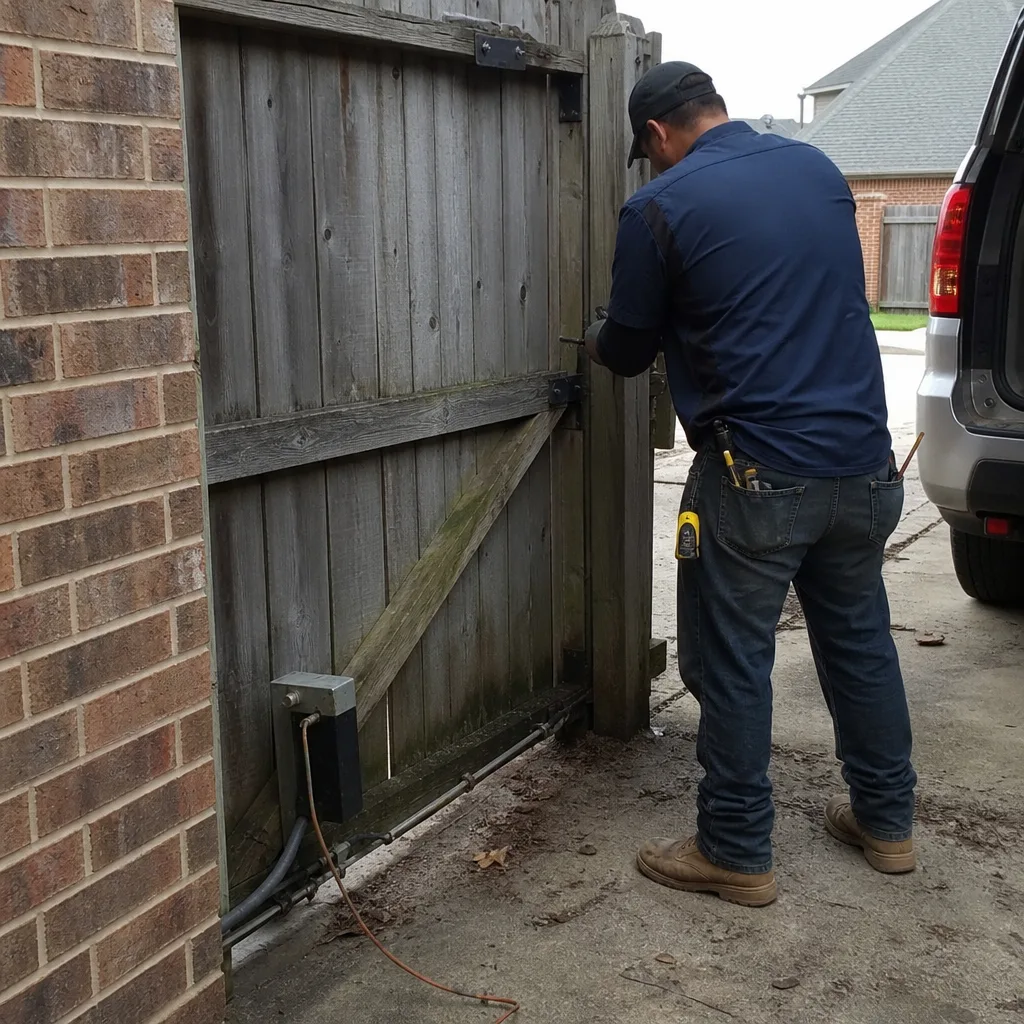 Before
 After
After Before
 After
AfterGate Repair Maintenance Checklist for Pearland Homeowners
Most printable gate maintenance checklists are worthless in Pearland. They tell you to “lubricate moving parts” without specifying which lubricant, how much, or what happens when petroleum spray hits a nylon bushing and turns it into a swollen, binding mess. They tell you to “check the hinges” but never give you a number to measure against. This guide changes that. You’ll get actual thresholds: hinge gap over 3/16 inch, post plumb drift beyond 2 degrees, drain-channel clearance under half an inch. Each item is measurable, which means you can track it over time instead of guessing whether the gate was “fine” last season. This is the checklist we wish every Pearland homeowner kept in a drawer next to the garage door opener manual. For more guides & resources, explore our blog.
Quick Answer
A Pearland gate maintenance checklist works when each item has a number attached: measure hinge gap top and bottom (flag anything over 3/16 inch), check post plumb with a 4-foot level (flag drift over 2 degrees), clear drain channels after every heavy rain, test the photo-eye beam alignment monthly, and log readings in a simple notebook so any future technician can read the history in five minutes instead of starting from zero.
Table of Contents
- Why Measurable Items Beat Descriptive Ones
- Hinge Wear: The Numbers That Matter
- Post Plumb and Clay Soil Movement
- What to Lubricate, What to Leave Alone
- Pearland-Specific Items: Corrosion, Drainage, and Humidity
- How to Photograph Gate Components So Photos Actually Help
- The Seasonal Log Sheet Nobody Gives You
- Common Mistakes to Avoid
BeforeAfterWhy Measurable Items Beat Descriptive Ones
Here’s the problem with the standard advice: “inspect hinges” is a feeling, not a finding. A hinge can look fine while it has already begun to sag. A post can look straight while it has drifted enough to throw the gate out of square. Without a number, you have no baseline, and without a baseline, you cannot tell a technician what changed or when it changed. That technician then has to rediscover the problem from scratch, and you pay for the rediscovery.
We learned this from commercial access-control work before we ever touched a residential driveway gate. On a commercial site, you document limit-switch readings, photo-eye alignment, and weld-point condition on every visit because the next technician might be from another company entirely. That documentation habit became the foundation of Vance Gate Repair Pearland home service: when we leave a Pearland job, you get a written photo record of what was found, what was set, and what was installed. The seasonal log in this guide serves the same purpose on the homeowner side. Write down the reading. Date it. Next season, compare. If something moved, you know it moved. If it did not, you stop worrying about it.
The rest of this checklist is built around that logic. Each section gives you a measurement, a threshold, a tool, and a what-to-do-if. Copy the seasonal log into a notebook or a Google Doc and keep it near the gate opener. Five minutes per season beats a $400 surprise every time.
The Five-Minute Seasonal Check: An Overview
- Measure hinge gap at top and bottom of each hinge. Flag anything over 3/16 inch.
- Check post plumb with a 4-foot level on two sides. Flag drift over 2 degrees.
- Clear drain channels at the base of each post and under the gate track. Flag standing water after rain.
- Test the photo-eye by breaking the beam with your hand while the gate is moving. It should stop and reverse.
- Log all four readings in the seasonal log with the date. Done.
Hinge Wear: The Numbers That Matter
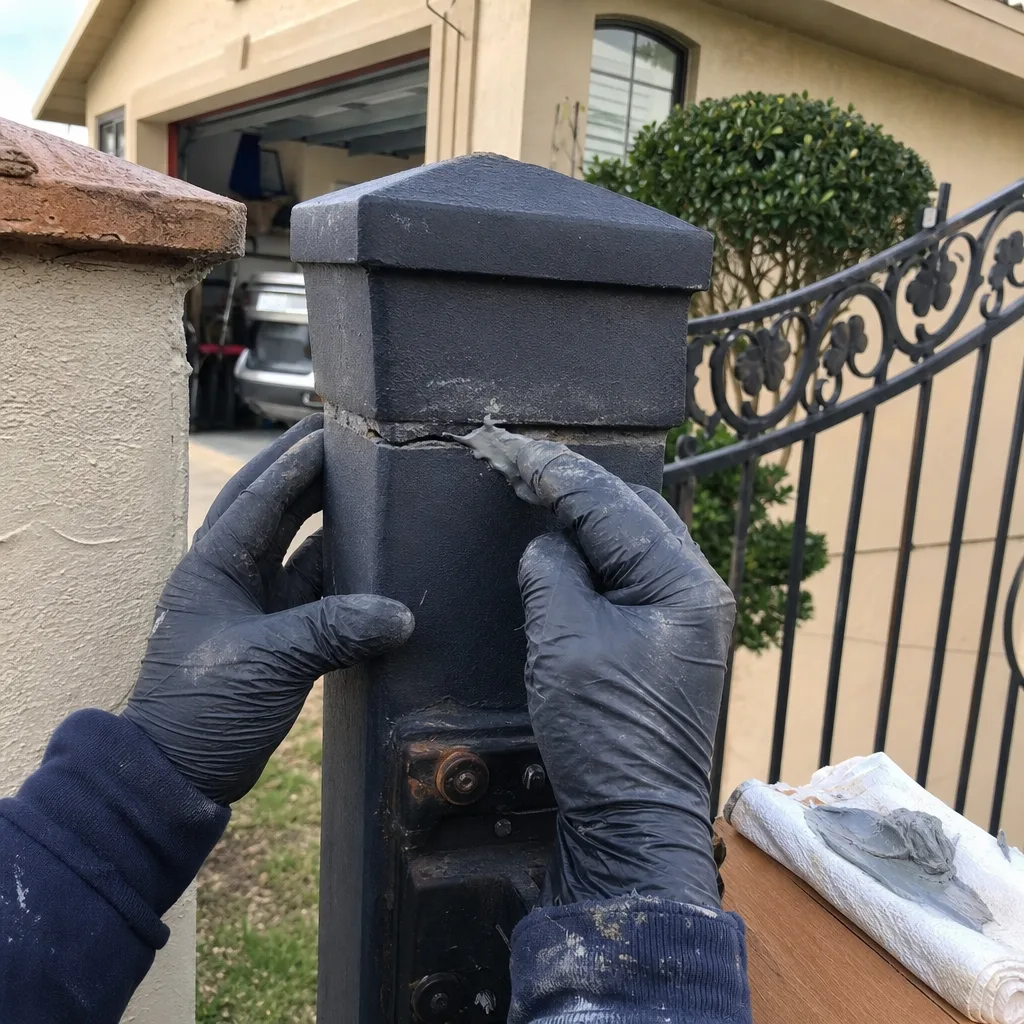
Gate hinges wear unevenly. The bottom hinge carries more weight on a swing gate, which means it wears faster. The top hinge carries more lateral load, which means it can elongate its bolt holes even when the hinge itself looks fine. By the time a hinge looks worn, it has usually been worn for months, and the gate has been slowly transferring that extra load into the post, the operator, or the latch.
Here is what to measure.
- Hinge gap top vs. bottom: Open the gate halfway. Use a steel ruler or a feeler gauge to measure the gap between the hinge leaf and the post at both the top and bottom of each hinge. The difference between the top and bottom reading should be under 3/16 inch. More than that means the hinge pin or bushing is worn and the gate is starting to lean.
- Bolt-hole elongation: With the gate closed, push firmly on the top of the gate and watch the hinge area. Any movement at the hinge-to-post bolts means the holes have elongated. Pull one bolt and look for an oval hole. Any visible oval means the hinge needs re-bushing or the post needs a plate.
- Lift test: Grab the latch end of the gate and lift straight up. Total vertical play should be under 1/8 inch. More travel means the hinge pin is worn. On a gate with a Mighty Mule or LiftMaster operator, that extra play gets hammered into the arm bracket every cycle, and the bracket is usually the next thing to crack.
In Pearland, where humidity runs high most of the year, rust acceleration is real. A hinge that measures fine in March can show 1/4 inch of play by September if water has been sitting in the pin bore. Measure before the rainy season and again after it. The two readings tell you more than a single inspection ever could.
Post Plumb and Clay Soil Movement
Pearland sits on Gulf Coast clay, and that clay expands and contracts with moisture. When it expands, it pushes. When it contracts, it settles. Gate posts are vertical anchors driven or set into that active clay, and they move more than most homeowners realize. The movement is slow, usually a fraction of a degree per year, but a fraction of a degree at the post becomes an inch at the latch end of a 16-foot gate.
The measurement is simple but you have to do it on both sides of the post.
- Place a 4-foot level vertically against the post on the gate side. Read the bubble. Any more than 2 degrees off plumb is worth flagging.
- Move the level to the side of the post, 90 degrees from the first reading. Same threshold: 2 degrees.
- Repeat on every post: hinge posts, latch posts, and any intermediate support posts.
- Log each reading with the date. The trend is what matters, not just the current number.
What causes post movement in Pearland specifically? Three things. First, the clay moisture cycle, worst in late summer when the ground dries out and cracks. Second, post footings that were never deep enough or wide enough for the gate weight, especially on newer homes where the builder’s fencing contractor set the posts in a 24-inch hole with a bag of quick-set. Third, drainage failure at the post base, which softens the clay and lets the post lean under load. If you see standing water at the base of a post after a normal rain, the post is eventually going to move. Fix the drainage, then check plumb.
A post that has drifted beyond 2 degrees usually needs to be removed and reset, not just shimmed. The gate has been compensating for the lean, which means the hinge wear and the operator stress are already happening. If you only address the post and not the downstream wear, you will be back in the same spot within a year. This is where a documented record helps: when we reset a post and log the new plumb reading, you know exactly what changed and when. The same log is part of what our technicians leave after any Gate Repair in Pearland visit.
What to Lubricate, What to Leave Alone
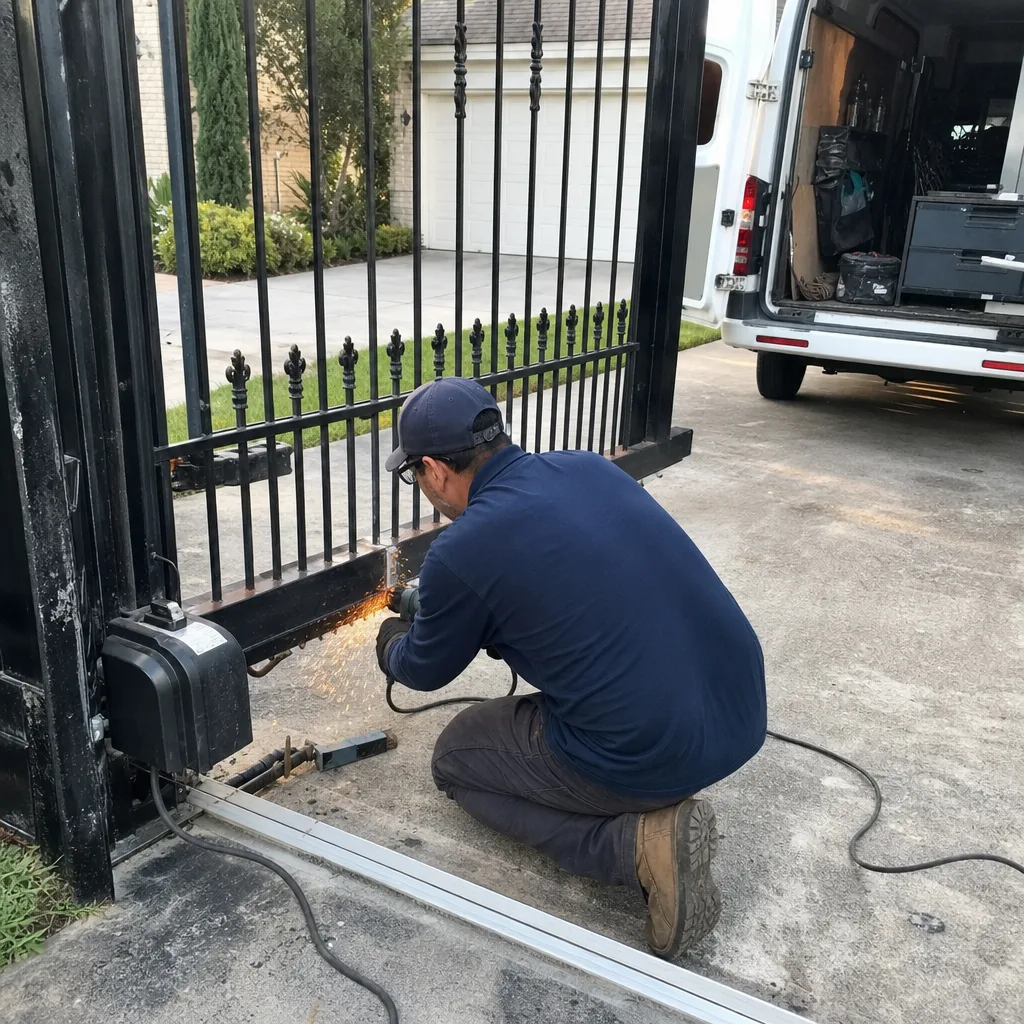
The opener manual probably says “lubricate moving parts.” That instruction has caused more gate damage than any other single line of homeowner-facing documentation. Here is what actually needs lubricant, what needs a specific lubricant, and what should stay dry.
What to Lubricate
- Metal-on-metal sliding points: Track wheels on sliding gates, latch mechanisms, and any steel pin rotating in a steel bore should get a dry graphite or PTFE-based lubricant. Not WD-40. WD-40 is a water displacer, not a gate lubricant. It washes out and leaves the metal dry within a few weeks.
- LiftMaster and FAAC arm linkages: A light lithium grease on the pivot points only, applied sparingly. Wipe off excess. Grease attracts grit, and grit in a limit-switch track causes false stops.
- Chain drives (if equipped): A dry chain lube once per year. Apply to the inside of the chain while rotating slowly. Wipe off what drips.
What to Leave Alone
- Nylon bushings and polymer hinges: Petroleum-based lubricants attack nylon and most polymer bushings. The material swells, the clearance disappears, and the hinge binds. A bound hinge loads the operator, which shortens motor life. If the bushing is squeaking, it is already worn. Lubricating a worn bushing hides the noise for a few days and lets the wear continue silently. Replace the bushing instead.
- Limit switches and photo-eye housings: These should be clean and dry. Lubricant inside a limit-switch housing is a fast way to false trips and a no-op gate.
- Motor gearboxes: Sealed from the factory. Do not open. Do not add anything. If the gearbox is noisy, the grease inside has broken down and the motor needs service, not a top-up.
The rule is simple: metal on metal gets a dry lubricant. Anything with a bushing, a seal, or electronics gets nothing unless the manufacturer specifically calls for it. If you are not sure, leave it dry and note it in the log. A dry pivot is an easy fix later. A swollen bushing is a replacement.
Pearland-Specific Items: Corrosion, Drainage, and Humidity
Every region has its own gate failure profile. In Pearland, the three recurring issues are weld-point corrosion, drain-channel blockage, and humidity-driven electrical faults. All three are measurable, and all three are easy to check if you know what to look for.
Weld-Point Corrosion Check
Gate frames rust from the inside out at the weld points. The weld itself is the most cathodically active spot on the frame, and once the paint or powder coat chips there, the corrosion starts. In a humid climate, the cycle accelerates. Here is the check: run your finger along every weld on the gate frame, especially where pickets meet rails and where the hinge plates meet the post. Bubbled paint, flaking, or any orange stain means the weld is already corroding underneath. Measure the affected length with a ruler and log it. If the flaked area grows more than 1/4 inch in a season, the oxidation is active and the weld needs to be ground, treated, and re-coated before the frame loses strength.
Pay special attention to the bottom rail welds. They sit closest to the ground and collect water from splashback. In Pearland’s rainy spring months, a bottom rail can go from surface rust to pinhole perforation in two seasons if the drain channels are also clogged.
Drain-Channel Clearance
Sliding gates run on a track, and that track has drain channels cast or cut into it to let water escape. When those channels clog with clay silt, grass clippings, and brake dust from the street, water pools in the track. The rollers then sit in standing water, the bearings rust, and the track itself begins to corrode. On a swing gate, the concern is at the post bases: if water pools there, the clay softens and the post moves.
After any heavy rain, check both areas. Clear the track channels with a flat screwdriver or a putty knife. Make sure water can flow away from the post bases. The clearance under a properly draining track should be at least half an inch of visible gap at the channel. If the gap is gone, clear it. If standing water remains for more than a couple of hours after the rain stops, the grading has shifted and the area needs to be re-sloped.
Humidity and Electrical Faults
Pearland’s humidity gets into everything that is not sealed. The three components to watch are the photo-eye connectors, the limit-switch housing, and the operator’s control board enclosure. Check each one for condensation after a cold front moves through, which is when the temperature swing causes internal moisture. If you see fogging inside the photo-eye lens or the board enclosure, the seal has failed. The fix is a new gasket or a replacement housing, not tape. We have seen BFT and Linear operators in Pearland fail after a single condensation event because water bridged two traces on the control board. The owner never knew until the gate stopped responding one morning.
Document any fogging in the log with a date and the outside temperature. A pattern of condensation events is a better predictor of future electrical failure than any visual inspection of the board itself.
How to Photograph Gate Components So Photos Actually Help
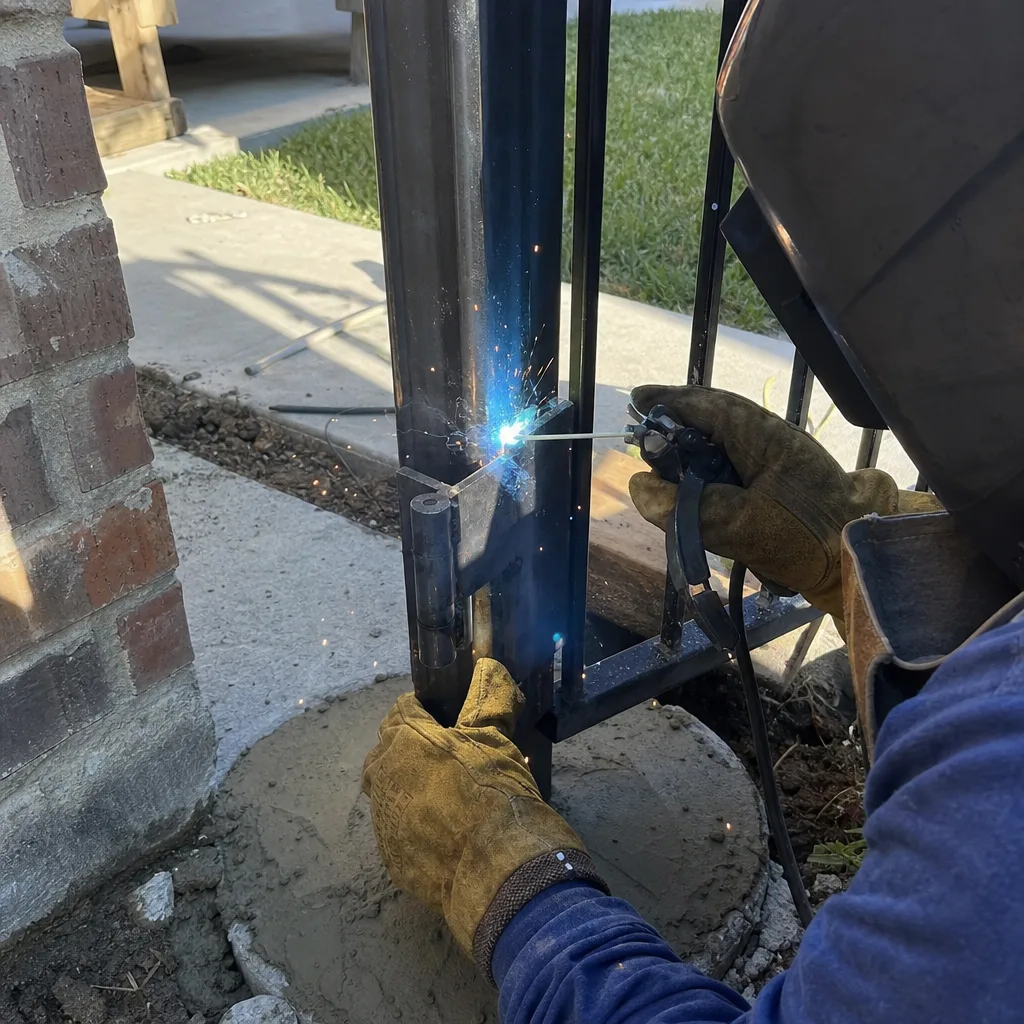
Most homeowners take a photo of the gate when it is broken and send it to a technician. The photo is usually taken from 15 feet away, at an angle, in bad light. That photo tells the technician almost nothing. A useful photo record follows a few simple rules, and if you build the habit now, the photos you take during maintenance will be worth real diagnostic time later.
The Three-Shot Rule
- Context shot: Stand back and photograph the entire gate and both posts. This shows the overall gate, the operator mounting, and any visible lean. Take it from straight on.
- Detail shot: Move in on the specific component: the hinge, the operator arm, the track wheel, the control board. Fill the frame with the part. The photo should be close enough that you can read the label on the motor.
- Reference shot: Place something of known size next to the component: a quarter, a ruler, your finger. This is the shot that tells the technician how big the wear point actually is. A quarter is 0.955 inches in diameter. It is the most useful object in your pocket.
What to Photograph Each Season
- Both hinges on every gate leaf, close enough to see the gap.
- The post base on all four sides, showing any standing water or crack lines.
- The operator arm and bracket, especially where the arm meets the gate.
- The photo-eye lens and housing, and the limit-switch housing.
- The control board enclosure, with the cover on first, then with the cover off if you are comfortable opening it.
Keep the photos in the same folder as the seasonal log. Name them with the date and the component: “hinge-bottom-2026-03-15.jpg.” Six months later, when that hinge starts to bind, the technician has a photo baseline to compare against. That is the difference between a five-minute diagnosis and a two-visit discovery. Our own technicians follow the same discipline on every Gate Installation in Pearland and repair job, because a photo of the original setting tells the next technician what changed.
The Seasonal Log Sheet Nobody Gives You
Here is the log. Copy it into a notebook, a spreadsheet, or a notes app. The columns stay the same every season. The point is a consistent record, not a pretty one.
| Date | Hinge Gap Top (in) | Hinge Gap Bottom (in) | Post Plumb Left (deg) | Post Plumb Right (deg) | Drain Clear (Y/N) | Photo-Eye Test (Y/N) | Notes |
|---|---|---|---|---|---|---|---|
Five minutes per season. The notes column is where you record anything unusual: “heard a new squeak from bottom hinge,” “saw condensation in photo-eye after cold front,” “post base had water for 3 hours after Saturday rain.” Those notes are the history that any technician can read without asking you to remember what happened in March.
The log also protects you in a practical sense. Every Gate Motor & Opener in Pearland technician will tell you the same thing: homeowners who log readings get faster diagnoses, because the technician can see the trend instead of reconstructing it. You also get fewer “it must have been fine before” disputes, because you have the dated record. A log is the cheapest insurance you will ever keep on a gate.
Common Mistakes to Avoid

- Using WD-40 on hinges and bushings. It washes out the existing lubricant and leaves the metal bare. Then it evaporates. Then the hinge wears faster than it would have if you had done nothing.
- Lubricating nylon bushings with petroleum spray. The bushing swells, the gap closes, and the hinge binds. The gate starts jerking during travel, and the operator works harder on every cycle. A $2 bushing becomes a $300 motor issue.
- Ignoring drain-channel clogging because the gate still works. In Pearland’s clay, standing water at a post base is a slow-motion post failure. The gate works until the post has moved far enough to throw the geometry off, and by then the repair is a post reset plus hinge replacement.
- Photographing the gate from 20 feet away and expecting a diagnosis. A wide shot shows you have a gate. It does not show the hinge gap, the bracket crack, or the corrosion line. Detail shots with a reference object are the ones that save a service call.
- Checking plumb on only one side of the post. A post can be plumb front-to-back and leaning 3 degrees side-to-side. Both readings matter, and the side lean is the one that usually causes latch misalignment.
- Waiting for a visible problem before starting a log. The whole point of a log is to catch drift before it becomes a visible problem. By the time the gate sags enough to see, you have missed three seasons of gradual change.
- Assuming a quiet gate is a healthy gate. Lack of noise is not a diagnostic. A gate can be perfectly quiet while the hinge gap grows and the post drifts. The measurements are the diagnostic. The noise, or lack of it, is irrelevant.
When to Call a Professional
Some items on this checklist are homeowner territory, and some are not. You can measure hinge gap, check plumb, clear drains, and test the photo-eye safely. You should not attempt to reset a post, re-weld a cracked frame, open a sealed motor gearbox, or re-wire an operator control board. Those jobs involve structural loads, stored spring energy in some operators, and line voltage that can injure or kill. If the log shows a hinge gap over 3/16 inch and trending up, the fix is usually a re-bushing or a hinge replacement, not an adjustment you can do with a wrench. If the post is over 2 degrees out of plumb and moving, it needs a proper reset with new footing. Gate Repair from Vance Gate Repair Pearland includes free estimates in Pearland; call (346) 253-3225 and we will put the price in writing before any work starts.
Under our Haven Standard, every visit includes a written scope, a written price, and a photo record of what was found, what was set, and what was left behind. If the job is not right within 365 days, we make it right with no additional charge.
Frequently Asked Questions
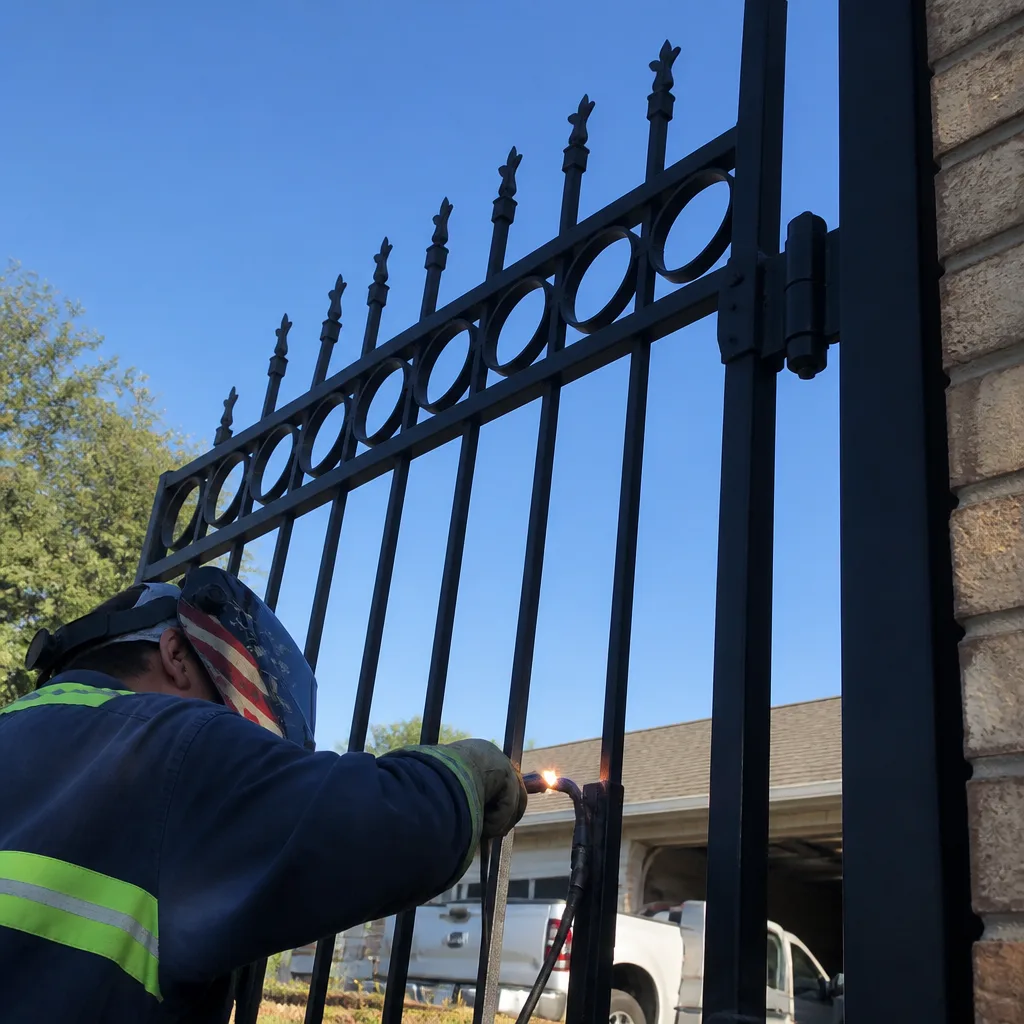
Quarterly is ideal for Pearland’s climate, which means four checks per year: early spring before the rainy season, early summer after the clay starts drying out, early fall after the summer heat, and early winter after the first cold front. If four times is too much, do it at minimum twice: once in March and once in October. The log matters more than the exact cadence.
For metal-on-metal hinges, use a dry graphite or PTFE-based lubricant, applied sparingly and wiped clean. For any hinge with a nylon or polymer bushing, use nothing unless the manufacturer specifies a compatible product. Petroleum-based sprays damage most polymer bushings and should be avoided.
Check plumb with a 4-foot level on two sides of the post, 90 degrees apart. Flag any reading over 2 degrees off vertical. Also look for fresh cracks in the concrete collar at the base, standing water after rain, and a gate that no longer latches square. The combination of plumb drift and latch misalignment is a reliable sign of post movement.
If the squeak got worse after lubrication, you likely used a petroleum-based product on a bushing or pivot that was already wearing. The lubricant either washed out whatever was there or caused a polymer part to swell. The fix is to identify the worn part and replace it, not to add more lubricant.
Check drain channels in the track and at the post bases. Clear any clogged channels and make sure water has not pooled. Then check post plumb readings, because the clay under the footings expands with moisture and can push a marginal post over the 2-degree threshold. Log the readings with the date of the rain event.
No. Estimates are free, and the price is provided in writing before any work begins, which is Haven Standard Clause 1. Call (346) 253-3225 and a live person will answer.
The Bottom Line
A gate maintenance checklist only works if the items can be measured and logged. In Pearland, that means hinge gap under 3/16 inch, post plumb within 2 degrees, clear drain channels after rain, a photo-eye that passes the beam-interrupt test, and a photo log that shows each component up close with a reference object for scale. Do the five-minute seasonal check, write down the readings, and keep the photos. That record is what lets any technician, including ours, diagnose a gate in one visit instead of two. For Gate Repair Warning Signs: A Pearland Homeowner’s Reference Guide, see our companion post. Start the log today, even if you only write down “no readings taken yet.” The habit is the first reading.
Written by Adrian Vance, Owner at Vance Gate Repair Pearland, serving Pearland since 2014.